Please take note of the following:
A new printer is required for this procedure; a used printer may have ink residue and may need to be cleared or flushed before use.
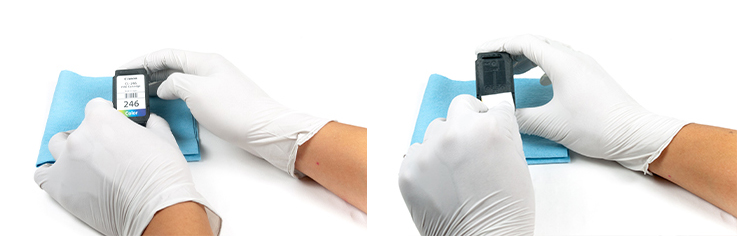
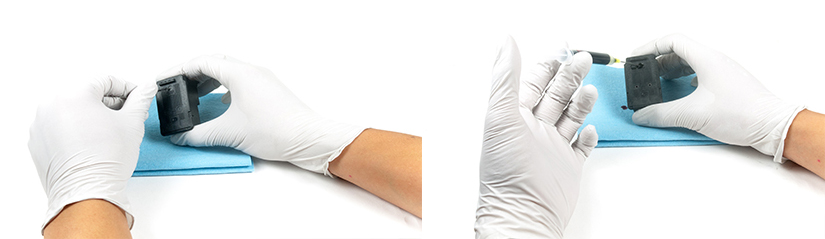
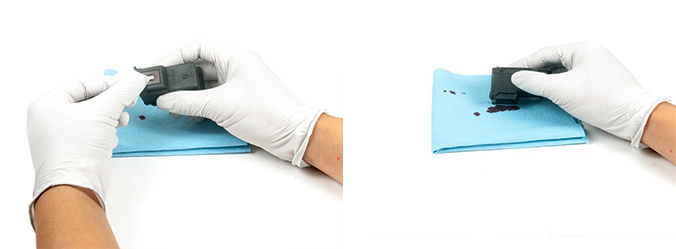
This procedure is fairly straightforward, please take a look at the following guidelines: